38 coloring using colored pencils
We go over 6 essential techniques to use with your colored pencil work! Whether that be pencil drawing or adult coloring, these tips are universal.1. Pressu... Use the back and forth stroke to evenly fill in color. Layering is most commonly done with the back and forth stroke. To use the back and forth stroke, angle your colored pencil towards your paper at 45 degrees and apply pressure evenly while drawing continuously over an area. Practice keeping each stroke relatively straight.
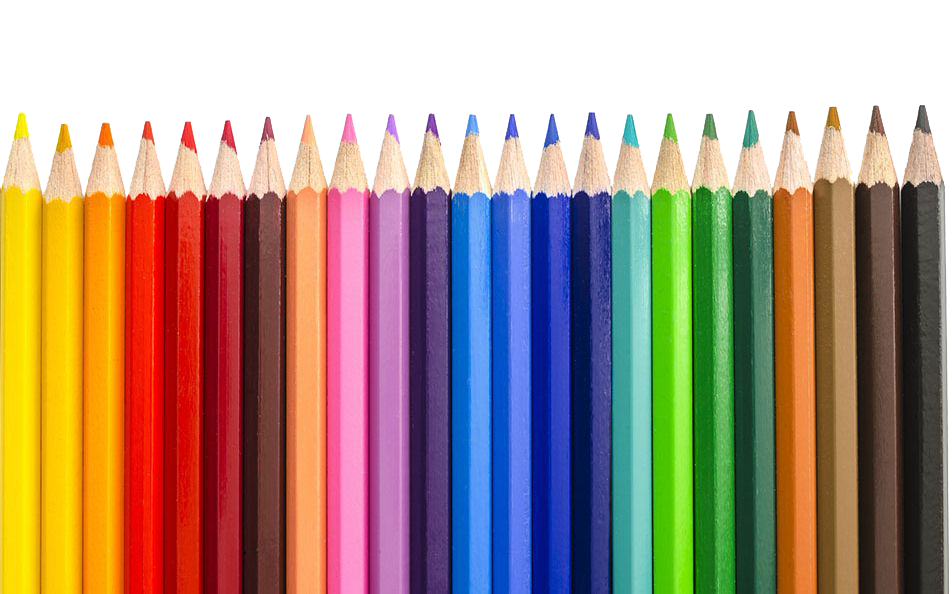
Artlicious Colored Pencils are the perfect tools for coloring! These colored pencils bring out the beauty of even the most detailed coloring pages. The different colors offer a rich and diverse palette to keep you calm, cool and colorful. Artlicious colored pencils are the best pencils for adult coloring.
Coloring using colored pencils
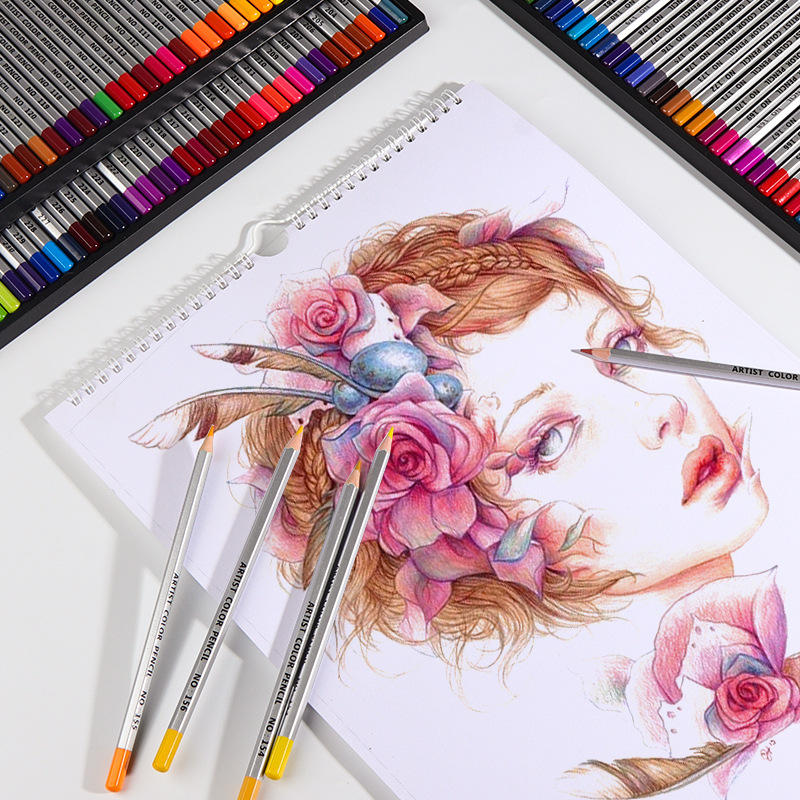
Want to know what the best Coloured Pencil Supplies are for Beginners? Then click this link to get my FREE Supply Guide: https://bit.ly/2UvgOl1Real-Time Draw... With colored pencils, you can play around with unconventional color combinations and layers to create a more striking effect. This is great for creating still life and realism, but you can also apply it to your coloring book pages. Pick out a good color combination for your midtones, highlights, and shadows and don't be afraid to experiment. These basic colored pencil techniques form the foundation for any type of colored pencil art that you would like to create. These colored pencil techniques cover the 5 main ways that you make marks with colored pencils: stippling, hatching, cross-hatching, back and forth stroke, and scumbling. You can see examples of these 5 techniques on the left!
Coloring using colored pencils. 6) Color in a stencil! Stencils can be so handy, for adding unique backgrounds, shapes, and effects to your Bible pages. You can always trace the stencil first with a pencil or pen, and then color in the resulting image with your colored pencils. Or, just skip that step, and use your colored pencils to trace and color the stencil. Apr 08, 2021 · Use your favorite colored pencils or fine-tip markers to color the designs. My daughter even likes using glitter gel pens when coloring her pages. After you have colored your designs, you can even use your Scripture coloring printables to decorate your home! The best way to get smooth color with colored pencils is by careful layering. It doesn't matter what you're drawing, or what pencils or paper you use. Draw each layer so carefully that the color needs little or no blending. I mentioned above that I sometimes still get rough color. That's because I draw until I get careless, tired, or lazy. Coloring fabric with colored pencils. Leave a reply. Last fall I took a Craftsy class from Lola Jenkins on making portrait quilts using colored pencils. Lola has a wonderful relaxed approach to her art and it was a fun class. I recommend it if you are interested in this subject.
A white colored pencil will be helpful for blending colors and adding highlights. You may even be able to correct minor errors by using a white colored pencil. Burnishing Burnishing is another word for blending with colored pencil. This technique helps the color on the page look like a single color rather than individual pencil strokes. While our top-shelf, quality colored pencils are designed with artists wants and needs in mind. Colored pencils make for a great introduction into the art realm. Pair our set of 48 colored pencils with a coloring book for young artists, those who are new to coloring, or for anyone who is in need of a creative form of relaxation. Aug 01, 2019 · Transform creative ideas into colorful art with the Crayola Colored Pencils Adult Coloring Set. This pack features 100 colored pencils for kids and adults to bring ideas to life. The perfect colored pencil set for any artist, there's a wide range of vivid colors inside to help inspire imagination. For coloring with colored pencils, I recommend going for paper with some texture and grip. But don't go too rough, or it will interfere with your lines and shapes. Somewhere in the middle range is best! If possible, go for quality cotton paper with some weight.
Colored pencils are generally easier to remove than paint or markers, but less so than graphite or watercolors. The pigment does lift off, but some color will remain. If you press hard (burnish) or have applied many layers of colored pencils, then the pigment will be more difficult to erase and will likely not erase completely. Place the pencils into the water, allowing them to rest against the side of the container. Soak for about 12-15 minutes. Voila! An effective twist on soaking colored pencils in water is to use warm/hot water to speed the softening process. Using warm/hot water requires a soak of only about 8-10 minutes. What colored pencils do artists use? Professionals use expert-grade colored pencil sets with a wide color selection to bring their art to life in the best way an artist can. Some of the most popular colored pencil brands come from Europe or the Americas. These include Prismacolor pencils, Faber Castell, Lyra Rembrandt, and Spectrum Noir. Coloring for adults has become popular in the past couple of years, but adults don't want to color with their kids coloring supplies. ColorIt produces coloring books and supplies that are designed specifically for adults. We know you'll appreciate our hardback covers, spiral binding, artist paper, and other details!
Premier 150 colors wood colored pencils artist painting ...
Step 1: Take the pencil and apply it back and forth accordingly. The back and forward stroke by the pencils will create a great texture of art over a large area on the canvas. Step 2: For blotting or coloring a large area deeply, you can color in a circular motion.
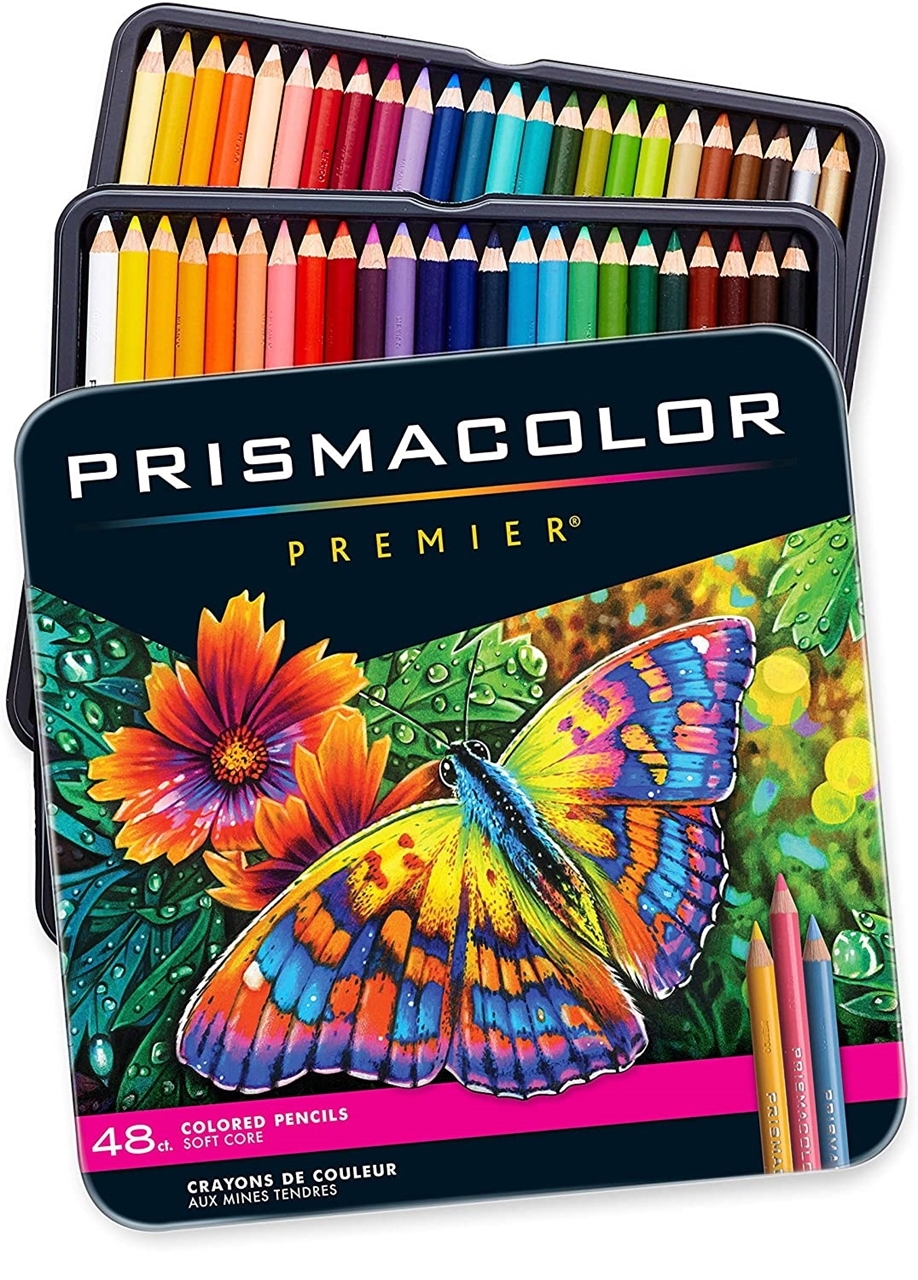
Prismacolor Premier Soft Core Colored Pencils - Set of 48 ...
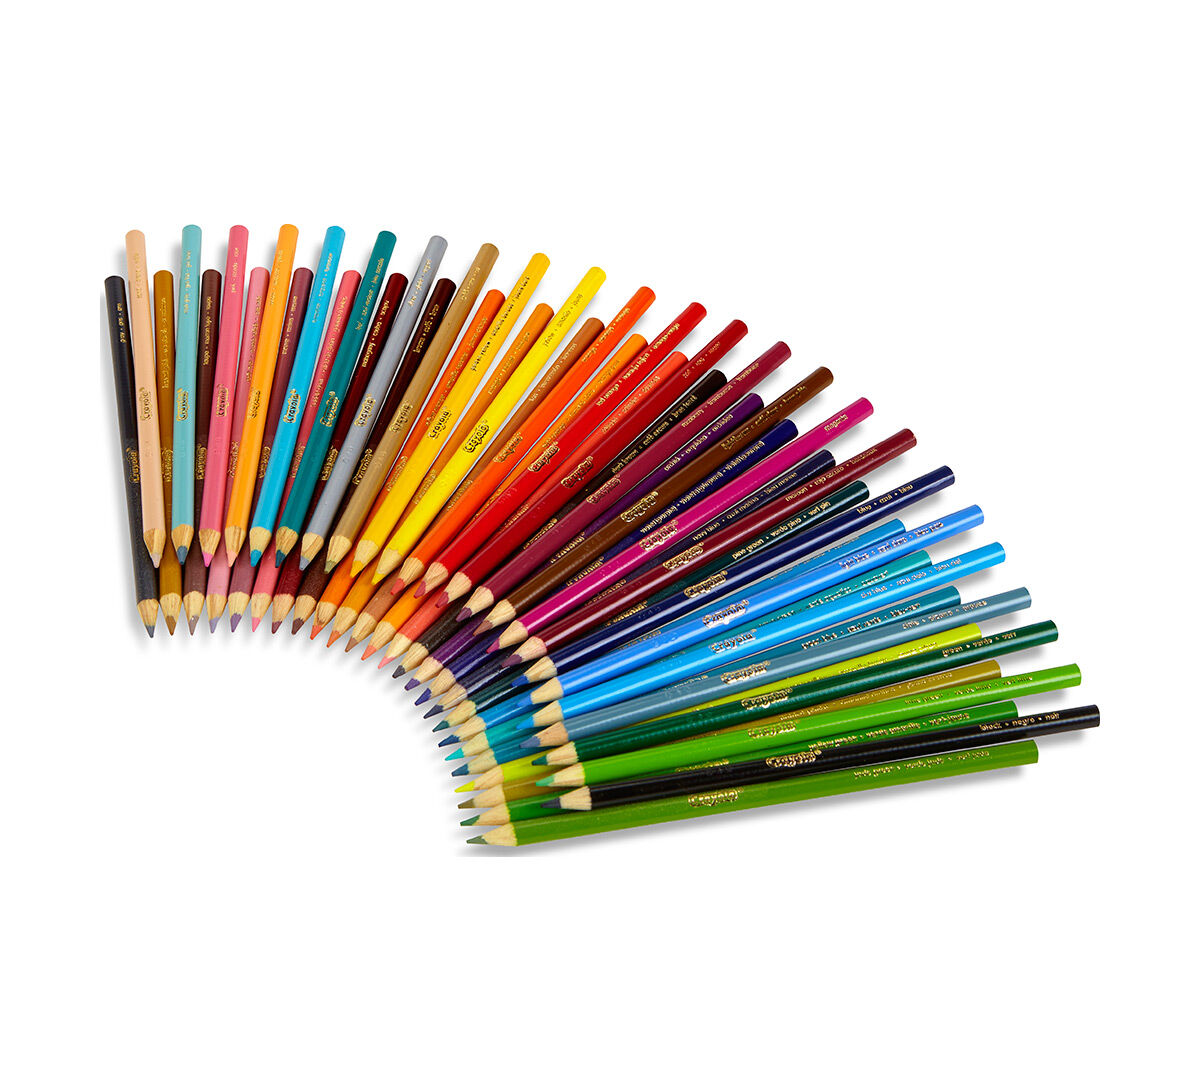
Pre-sharpened so you can get drawing straight away, Crayola Pre-Sharpened Adult Colored Pencils are incredibly durable and long-lasting with a smooth lay down so you can color whenever the mood takes you. Each color pencil in this set is completely unique from the rest of the set.

Crayola 24pc. Colored Pencils
Once dry, use any one of the coloring techniques with colored pencils on top of it. Rubbing: Many of these approaches challenge you to create your own texture—but not rubbing. Find a tactile item like seashells or coins and place a piece of paper on top of them. Then, using your colored pencil, move it back and forth across the object.
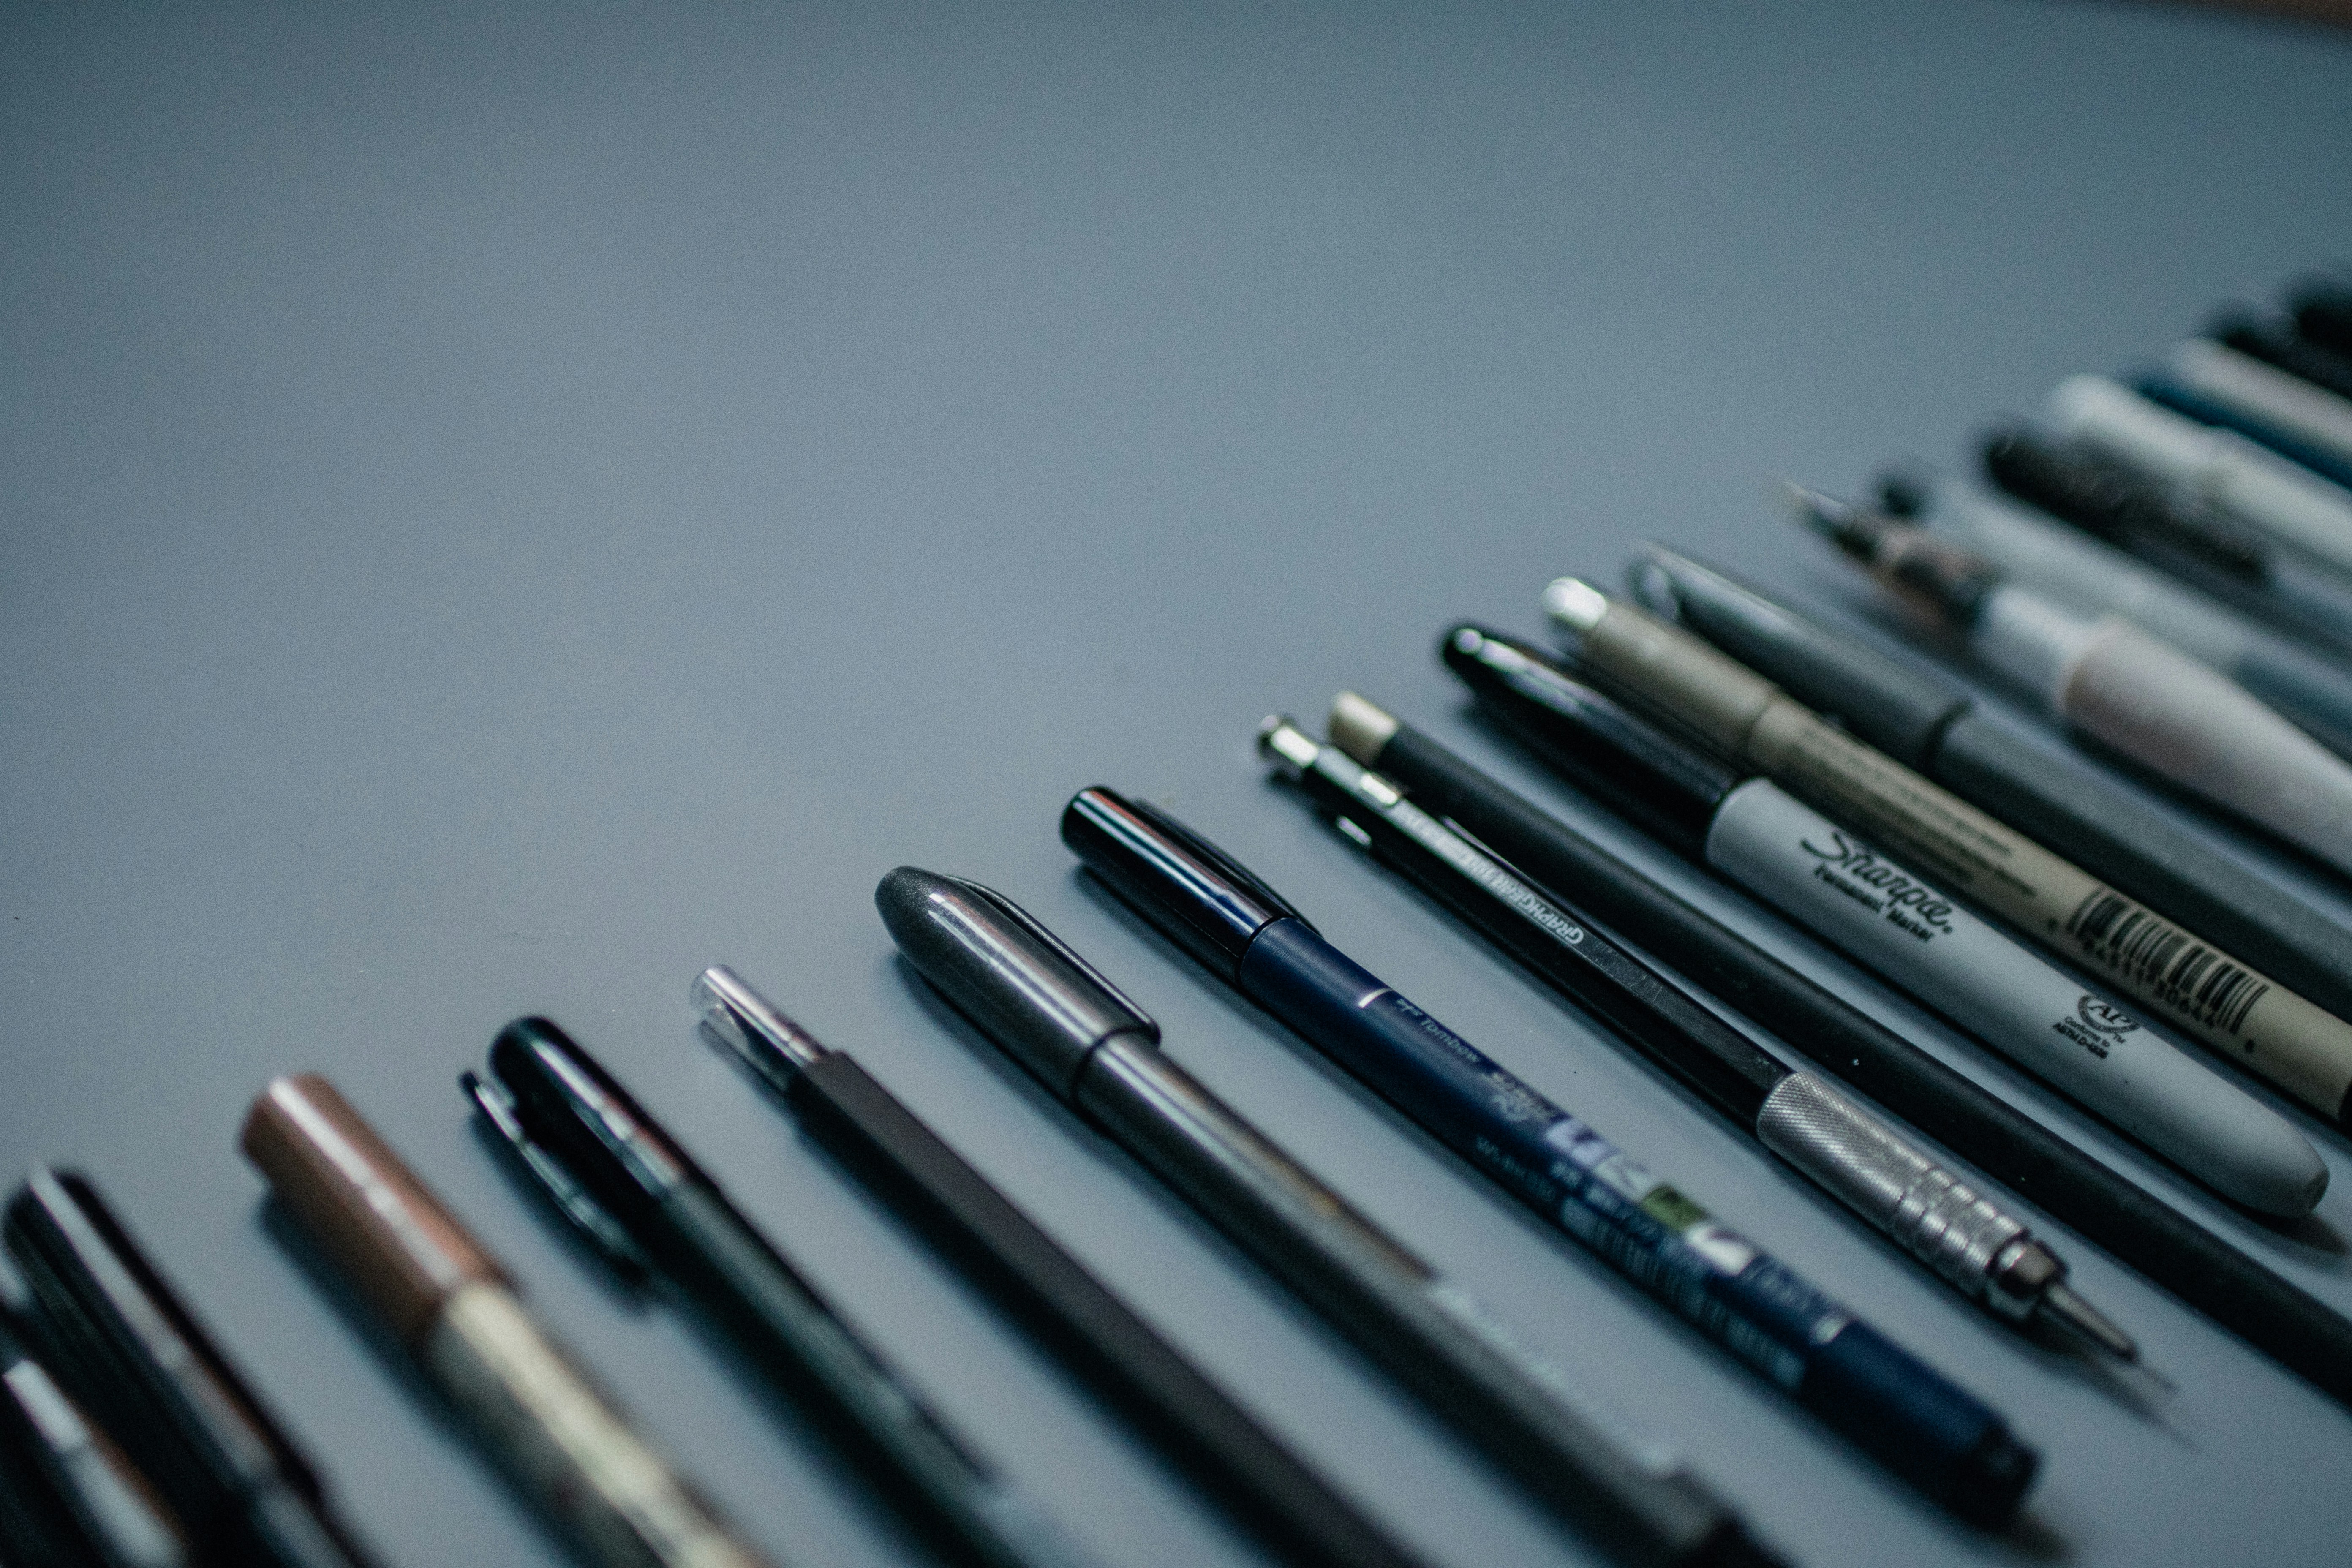
Group of calligraphy and lettering pens
The key to using colored pencils properly is to use the dull side so you do not apply harsh lines that are difficult to remove and blend. For once, do not use a sharp pencil! Layer your color. Don't add the whole tube of lipstick all at once.
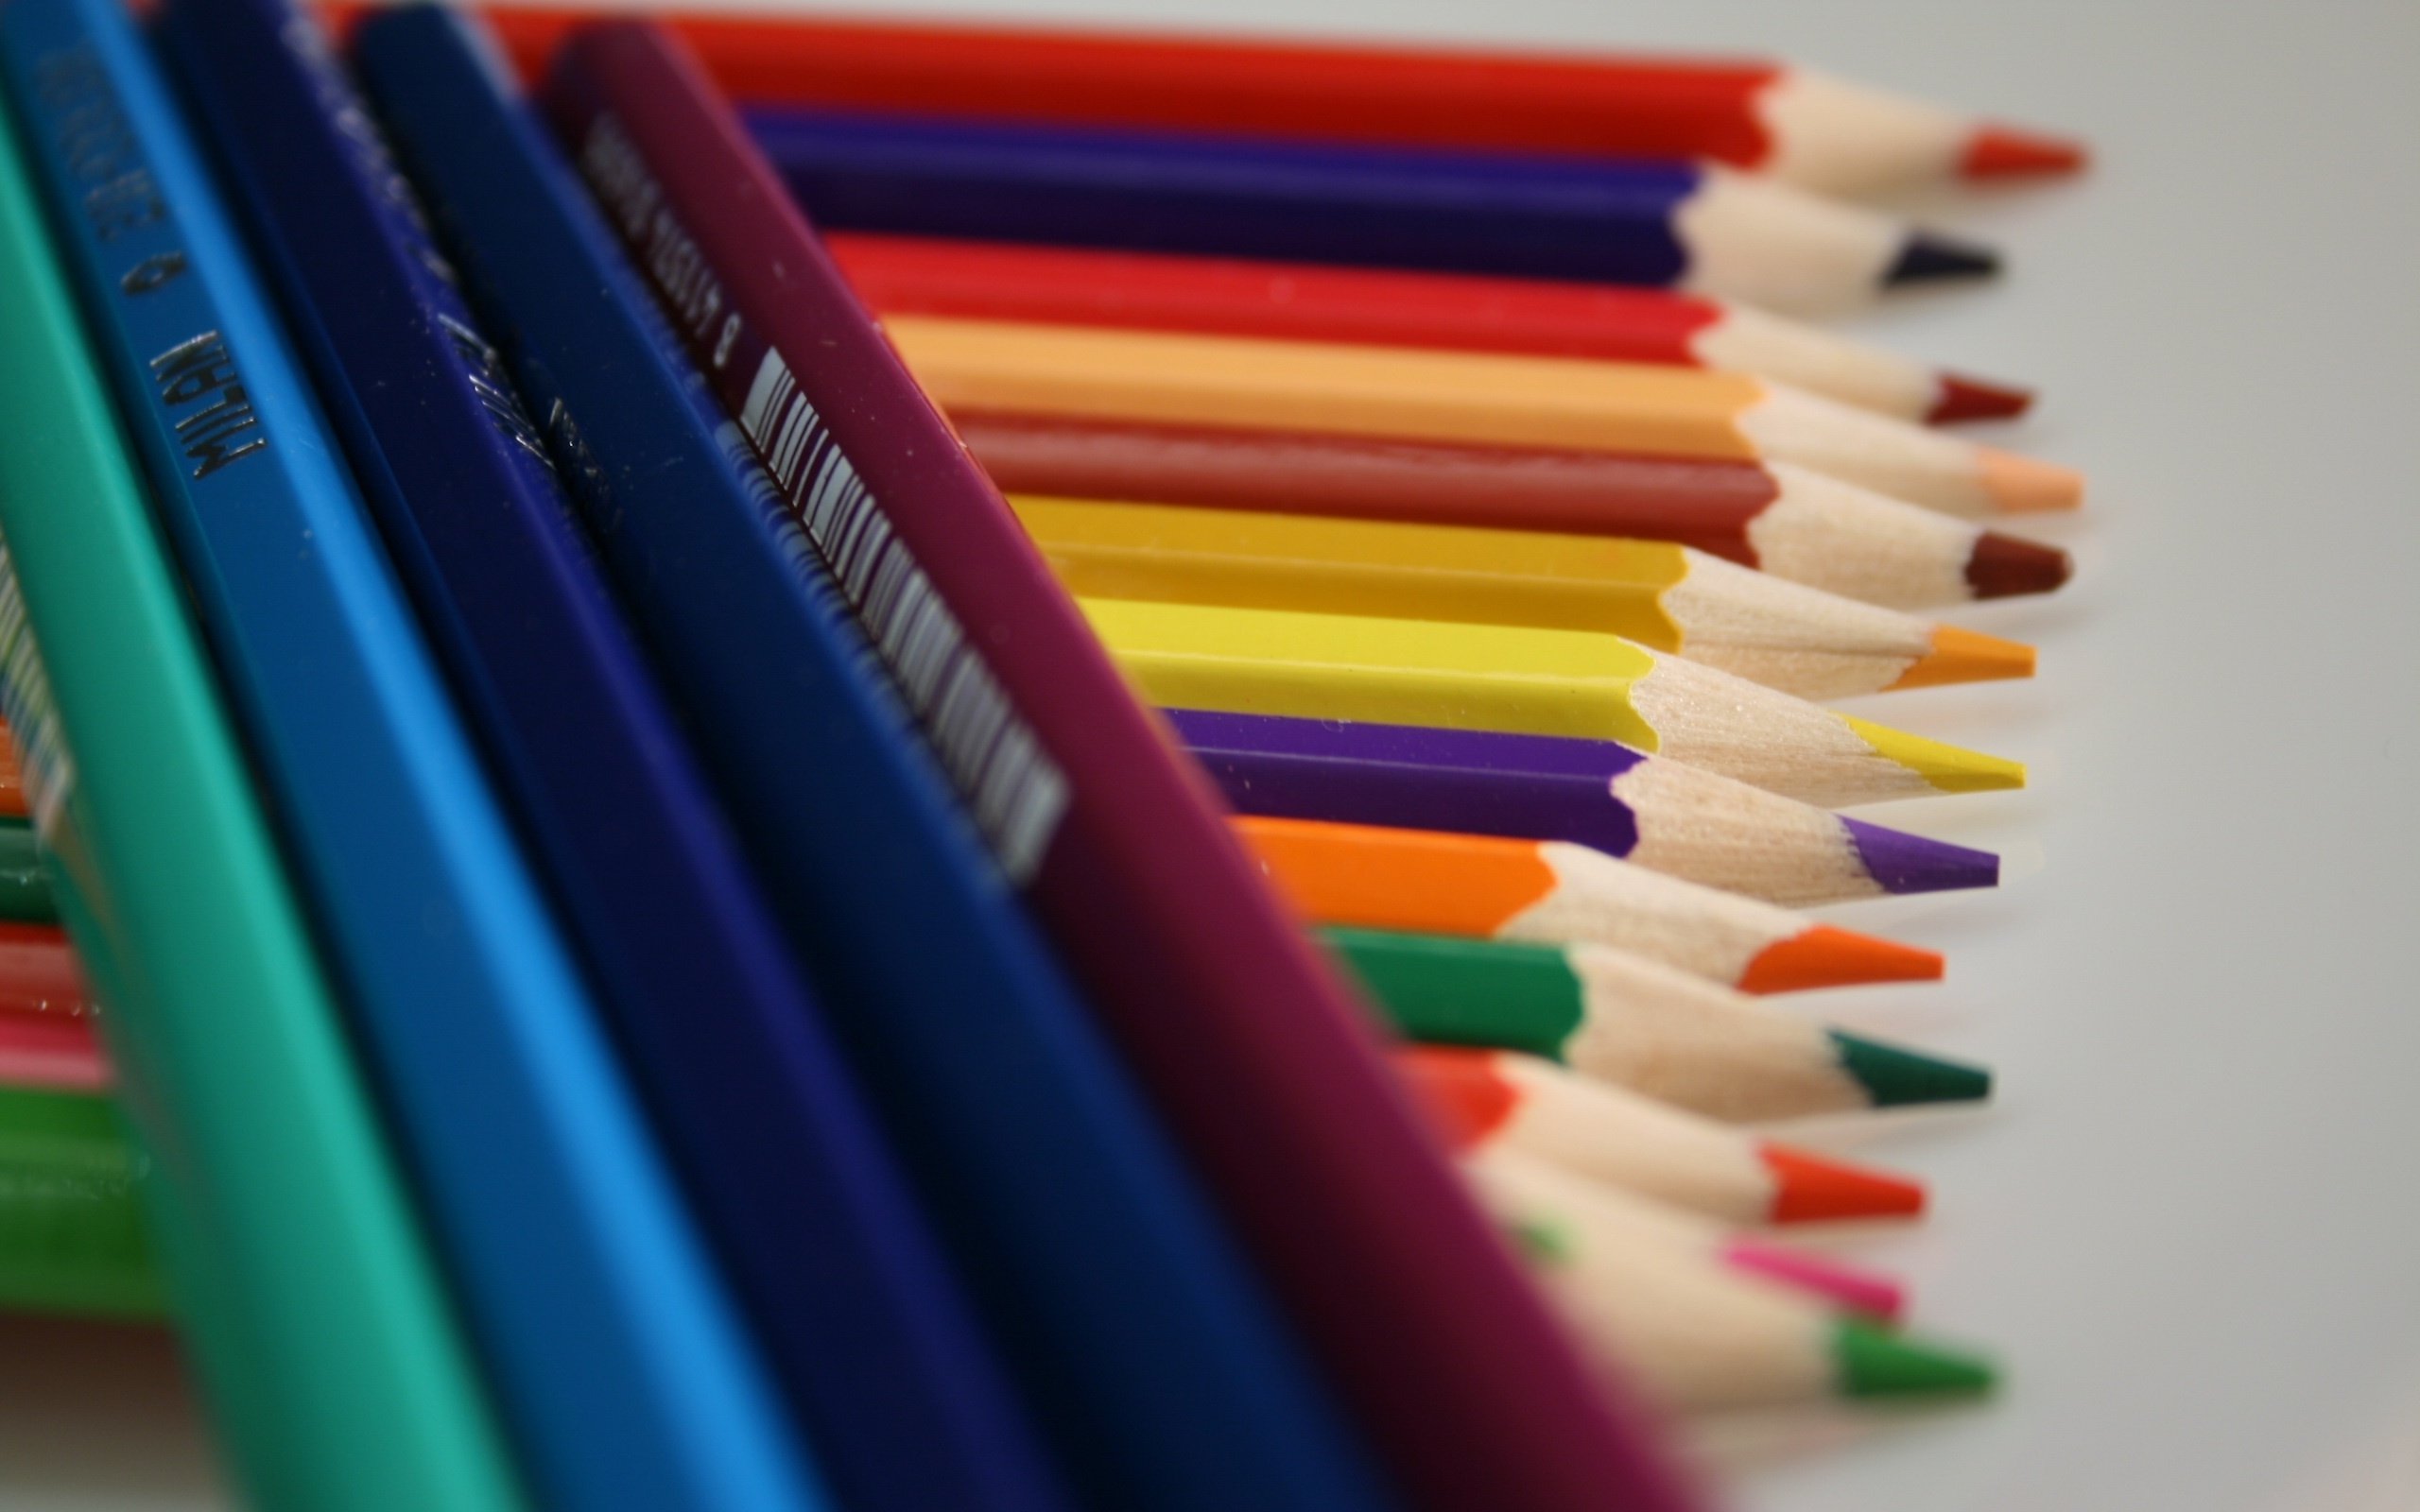
photography, Pencil, Colored, Pencils Wallpapers HD ...
Adult Coloring Books With Colored Pencils) by Ekaterina Chernova. 3.9 out of 5 stars 357. Paperback. $11.63 $ 11. 63. Get it as soon as Wed, Dec 15. FREE Shipping on orders over $25 shipped by Amazon. More Buying Choices $5.01 (11 used & new offers) Other format: Kindle. A Dog Named Bear (In-Depth Colored Pencil Tutorials)

The arty owl
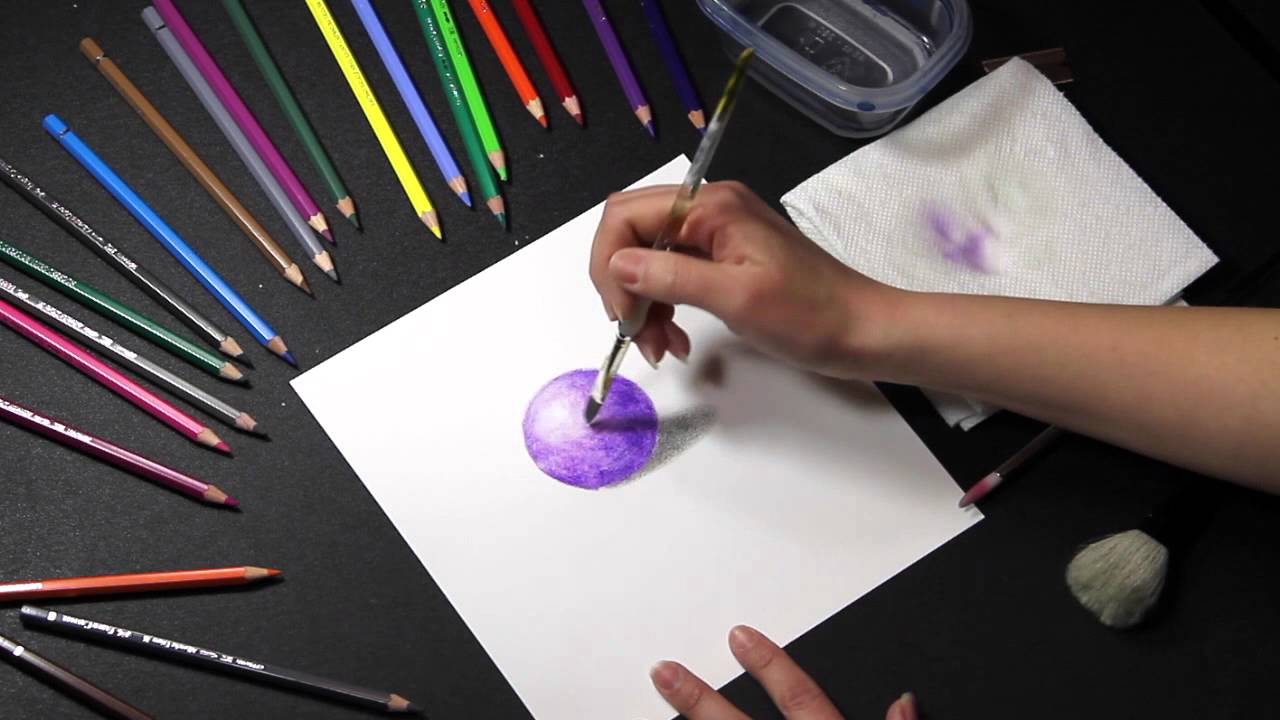
Using another highlight color, this time a light yellow, paint around the lightest area where the light reaches the body. Step 5: Grab your highlight and midtone colors and keep layering them over what you have already colored. Increase the pressure you use to paint with the pencils and mix everything together by coloring in circular motion.
Download Color Pencil Transparent HQ PNG Image | FreePNGImg
You can use colored pencil to tint a drawing with light strokes that let the color of the paper show through, or you can use colored pencil to create a solid deposit of many layers of color. Because colored pencil is primarily a dry medium, there's no drying time to worry about.

Colored pencils - Pencils Wallpaper (22186448) - Fanpop ...
Colored Pencils and Patience Deb Karash applies color to copper the slow way, using colored pencils and patience. She saturates the metal stroke by stroke, layering and coloring until the metal reaches a velvety depth in which brass rivets glow like embedded jewels.

Colored Pencil Wallpapers (66+ images)
Colored pencil art is known for its smooth, waxy, and glossy finish. Burnishing is the difference between a colored pencil drawing and a colored pencil painting. It's relatively simple. We apply a colorless blender on a specific region in a fashion similar to applying a layer of polish over wood.
The Best Colored Pencils to Use for Beginners to ...
Adding Color using Colored Pencils. Step 1 You can use several paint and coloring medias to add color to your wood burning. In this project we will use watercolor pencils and colored pencils, but you can also use watercolor paints, oil paints, and fabric dyes.
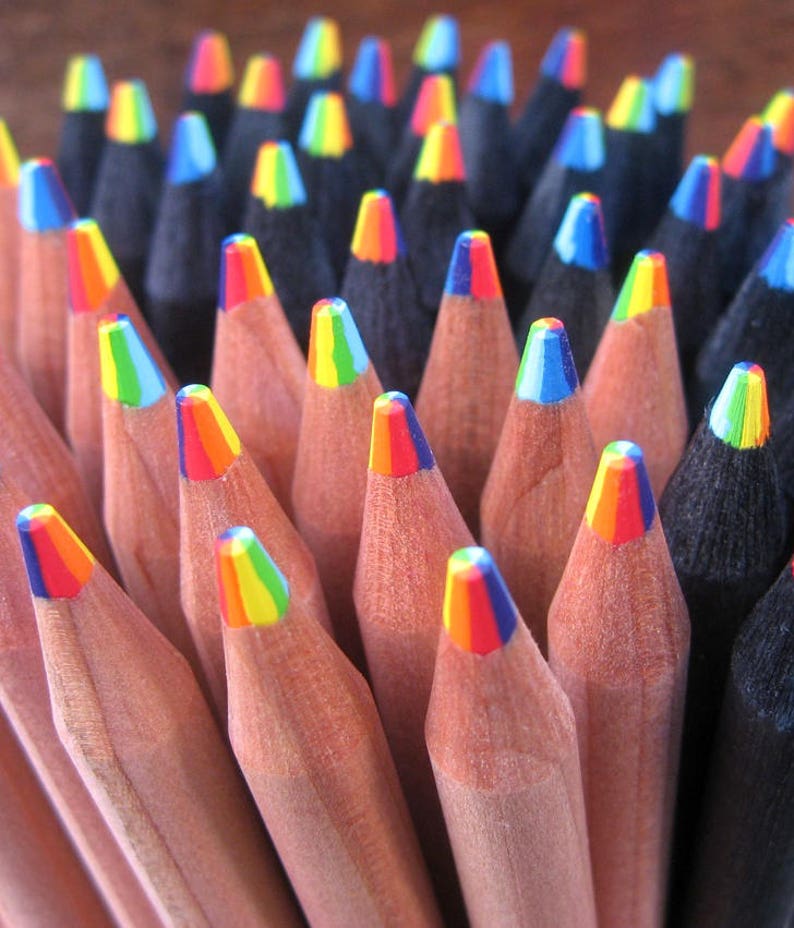
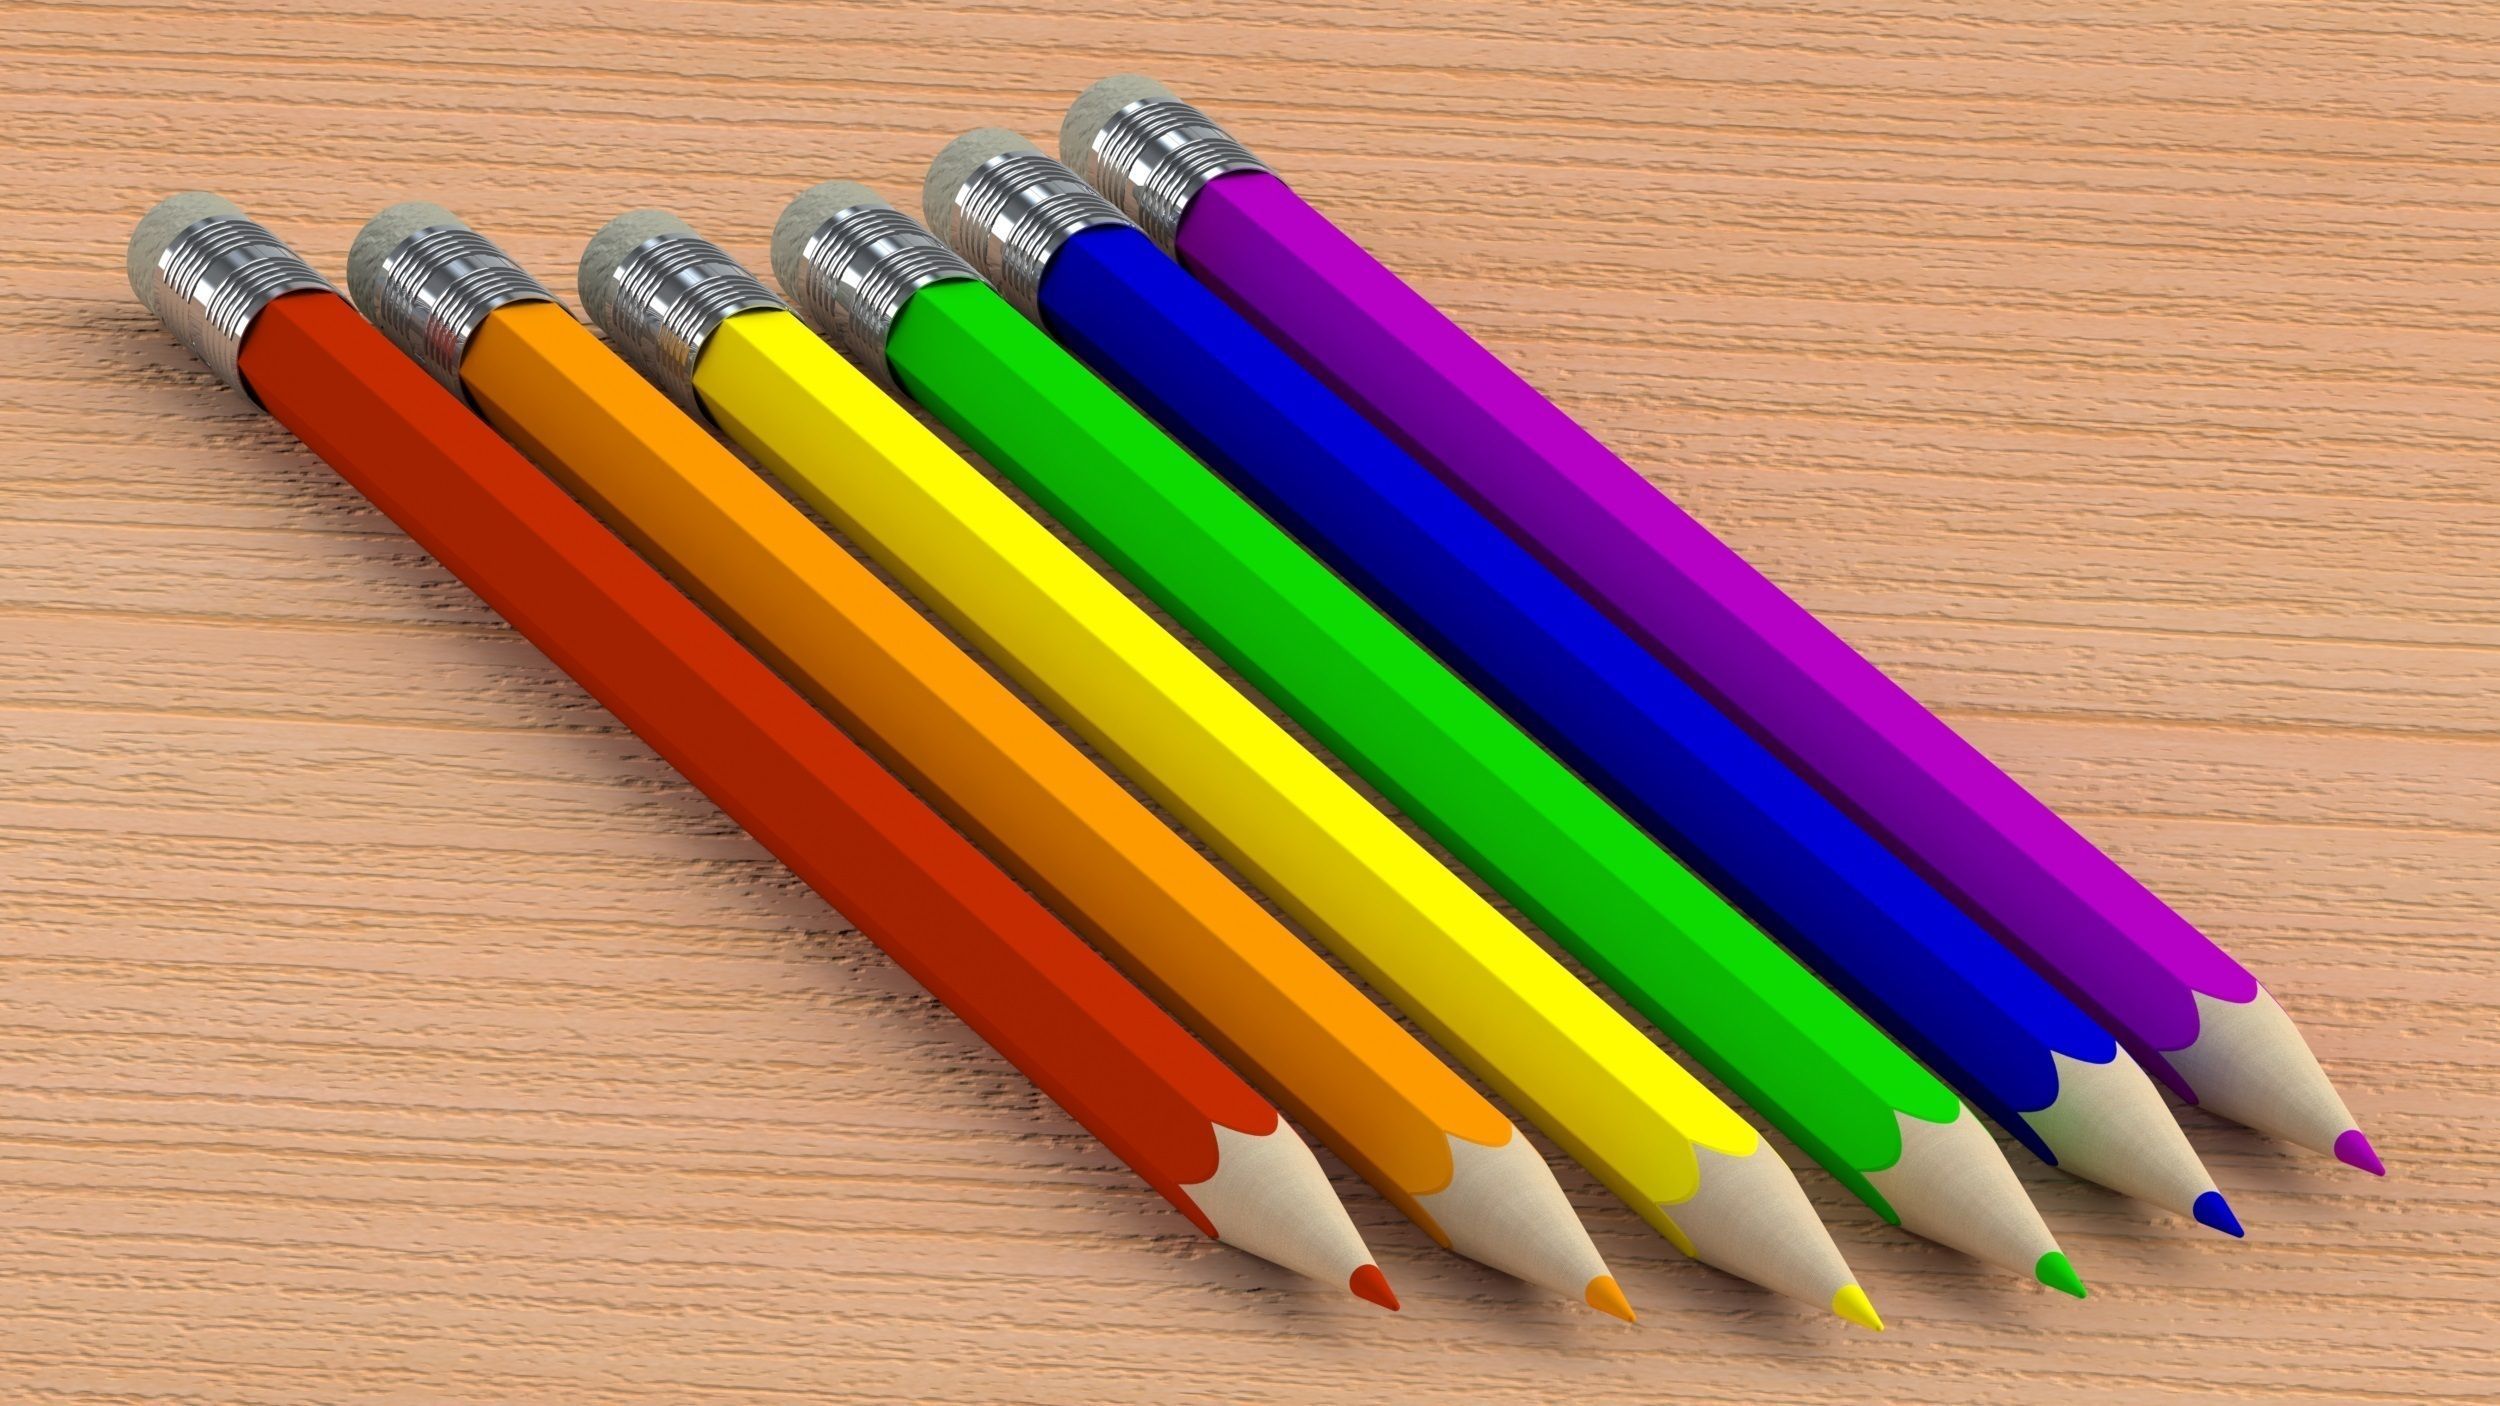
Rainbow Color Pencils / Rainbow Pencils / Natural Wood ...
A variety of techniques exists for drawing and coloring with colored pencils. These techniques can provide different results in terms of the coverage of pigment on your surface. Coloring techniques include stippling, hatching, cross-hatching, back and forth strokes, or scumbling. You can even create your own techniques.

onde tra le scogliere
Oct 29, 2016 · Jennifer I have decided to start coloring. I have done a lot of research and watched a lot of videos and by far I like yours the most. I purchased a 150 pack of Prisma colored pencils. Probably the most problem I am having right now is what colors go with what. It seems like most of what I do turns out dark.

Coloring skin with colored pencils - Part 1 | Emmy Kalia ...
There are several ways to protect your book from damage while coloring in them, but the most popular options include using colored pencils cases, hard plastic sheets, and paper protector sleeves. A case will protect both sides of your book and hold your pencils securely in place while you color.
History of Colored Pencils. Color pencils are type of ...
Put your colored pencil on the blank paper and drawback and forth in a continuous motion without pulling it off of the paper. Due to the continuous appearance of pencil strokes, this is an excellent method to add decent color to various parts of your picture. Stippling

coloring outside the lines
Create a great ombré color scheme but choosing five colored pencils that are analogous (next to each other on the color wheel). Start from the middle and work your way out, as shown in the photos above. Blend the colors together as you add each new color. Just overlap two colors that are next to each other to achieve a nicely blended look.

Crayola Twistable Colored Pencils, 30 Count - Stock Up for ...
When using these colored pencils, they will make you feel smooth with thick blends and creamy color. Featuring the same supple leads as premier soft core pencils but stripped of the wooden case to reveal the thick, .25-inch core, they are ideal for mixing, smooth layering, and fast performance.

colored pencils - Free Large Images
Free Guide: Colored Pencil Techniques 101. Each of us create art for different reasons. It's freeing to be able to stop what you're doing and sketch a scene or put a new idea to paper while it's fresh in your mind. Color pencil drawing makes it easy to get started. Paper, pencils, a sharpener and eraser are the basics that you need.

Student Kawaii DIY 12/18/24/36/48 Wooden Water Color ...
12 steps1.Sharpen your colored pencils before using them for the best color. A sharp colored pencil will allow you to make finer lines as well as more vibrant colors ...2.Use controlled, slow movements to create the best drawing. Instead of rushing through your drawing and quickly applying the color, slow down and make your ...3.Hold your pencil on its side to shade a larger area in lighter shades. By using your colored pencil’s side, the color will be slightly lighter and the ...

IR shot hand colored
These basic colored pencil techniques form the foundation for any type of colored pencil art that you would like to create. These colored pencil techniques cover the 5 main ways that you make marks with colored pencils: stippling, hatching, cross-hatching, back and forth stroke, and scumbling. You can see examples of these 5 techniques on the left!
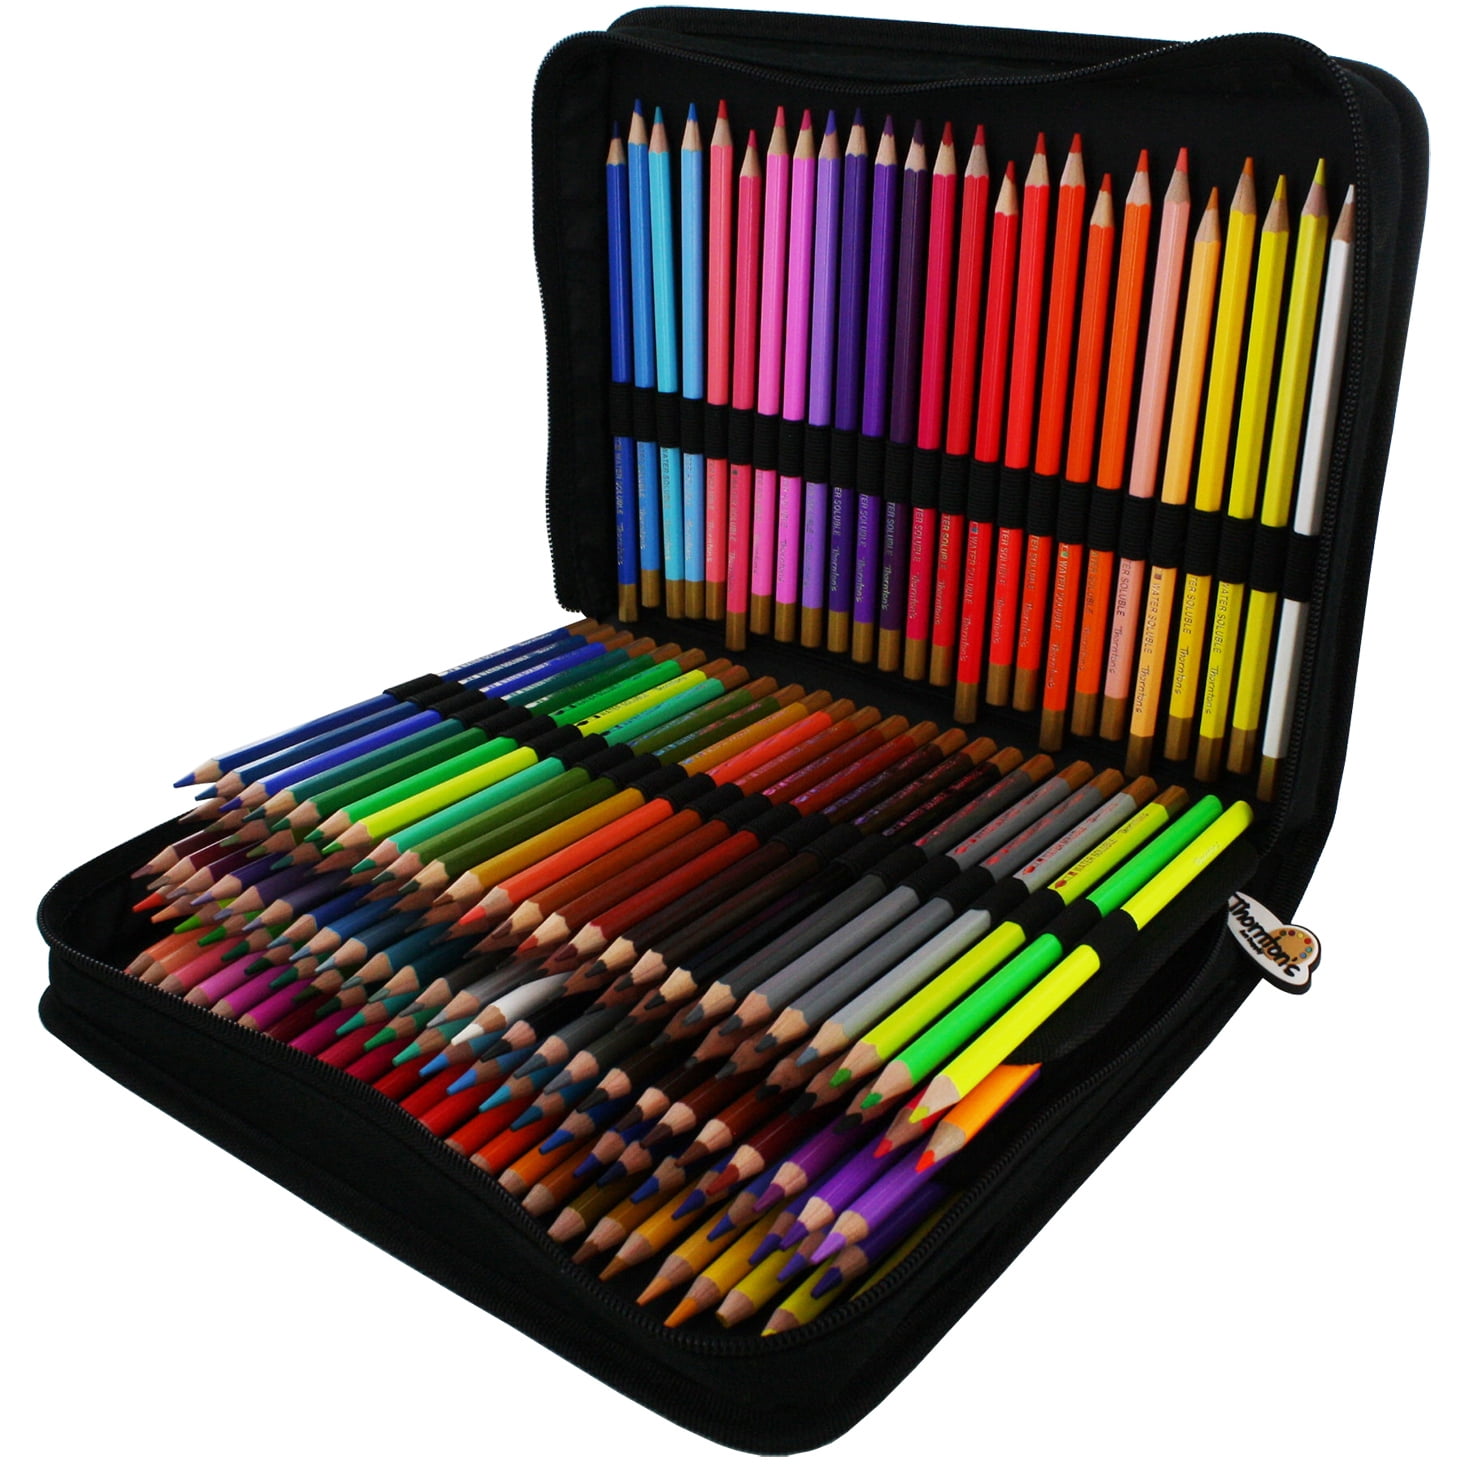
Colored Pencil Set & Zippered Case 150/Pkg-Assorted ...
With colored pencils, you can play around with unconventional color combinations and layers to create a more striking effect. This is great for creating still life and realism, but you can also apply it to your coloring book pages. Pick out a good color combination for your midtones, highlights, and shadows and don't be afraid to experiment.

'Weather Bug"
Want to know what the best Coloured Pencil Supplies are for Beginners? Then click this link to get my FREE Supply Guide: https://bit.ly/2UvgOl1Real-Time Draw...
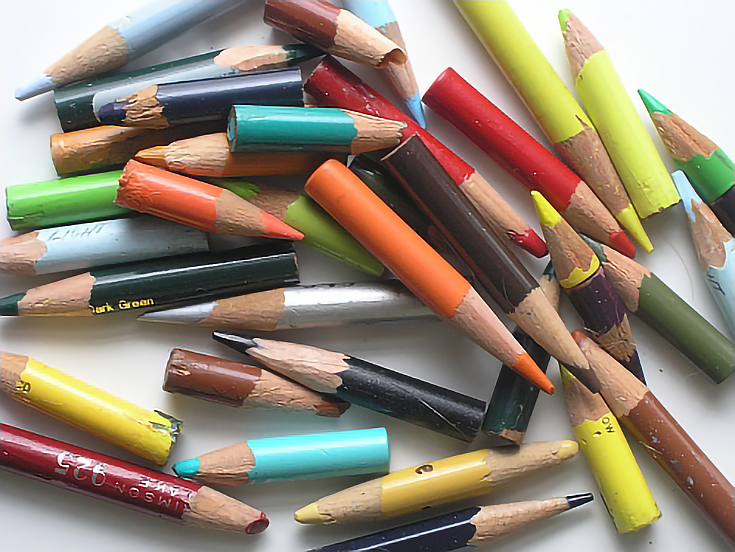
How to Get the Most Possible Use Out of Every Colored ...
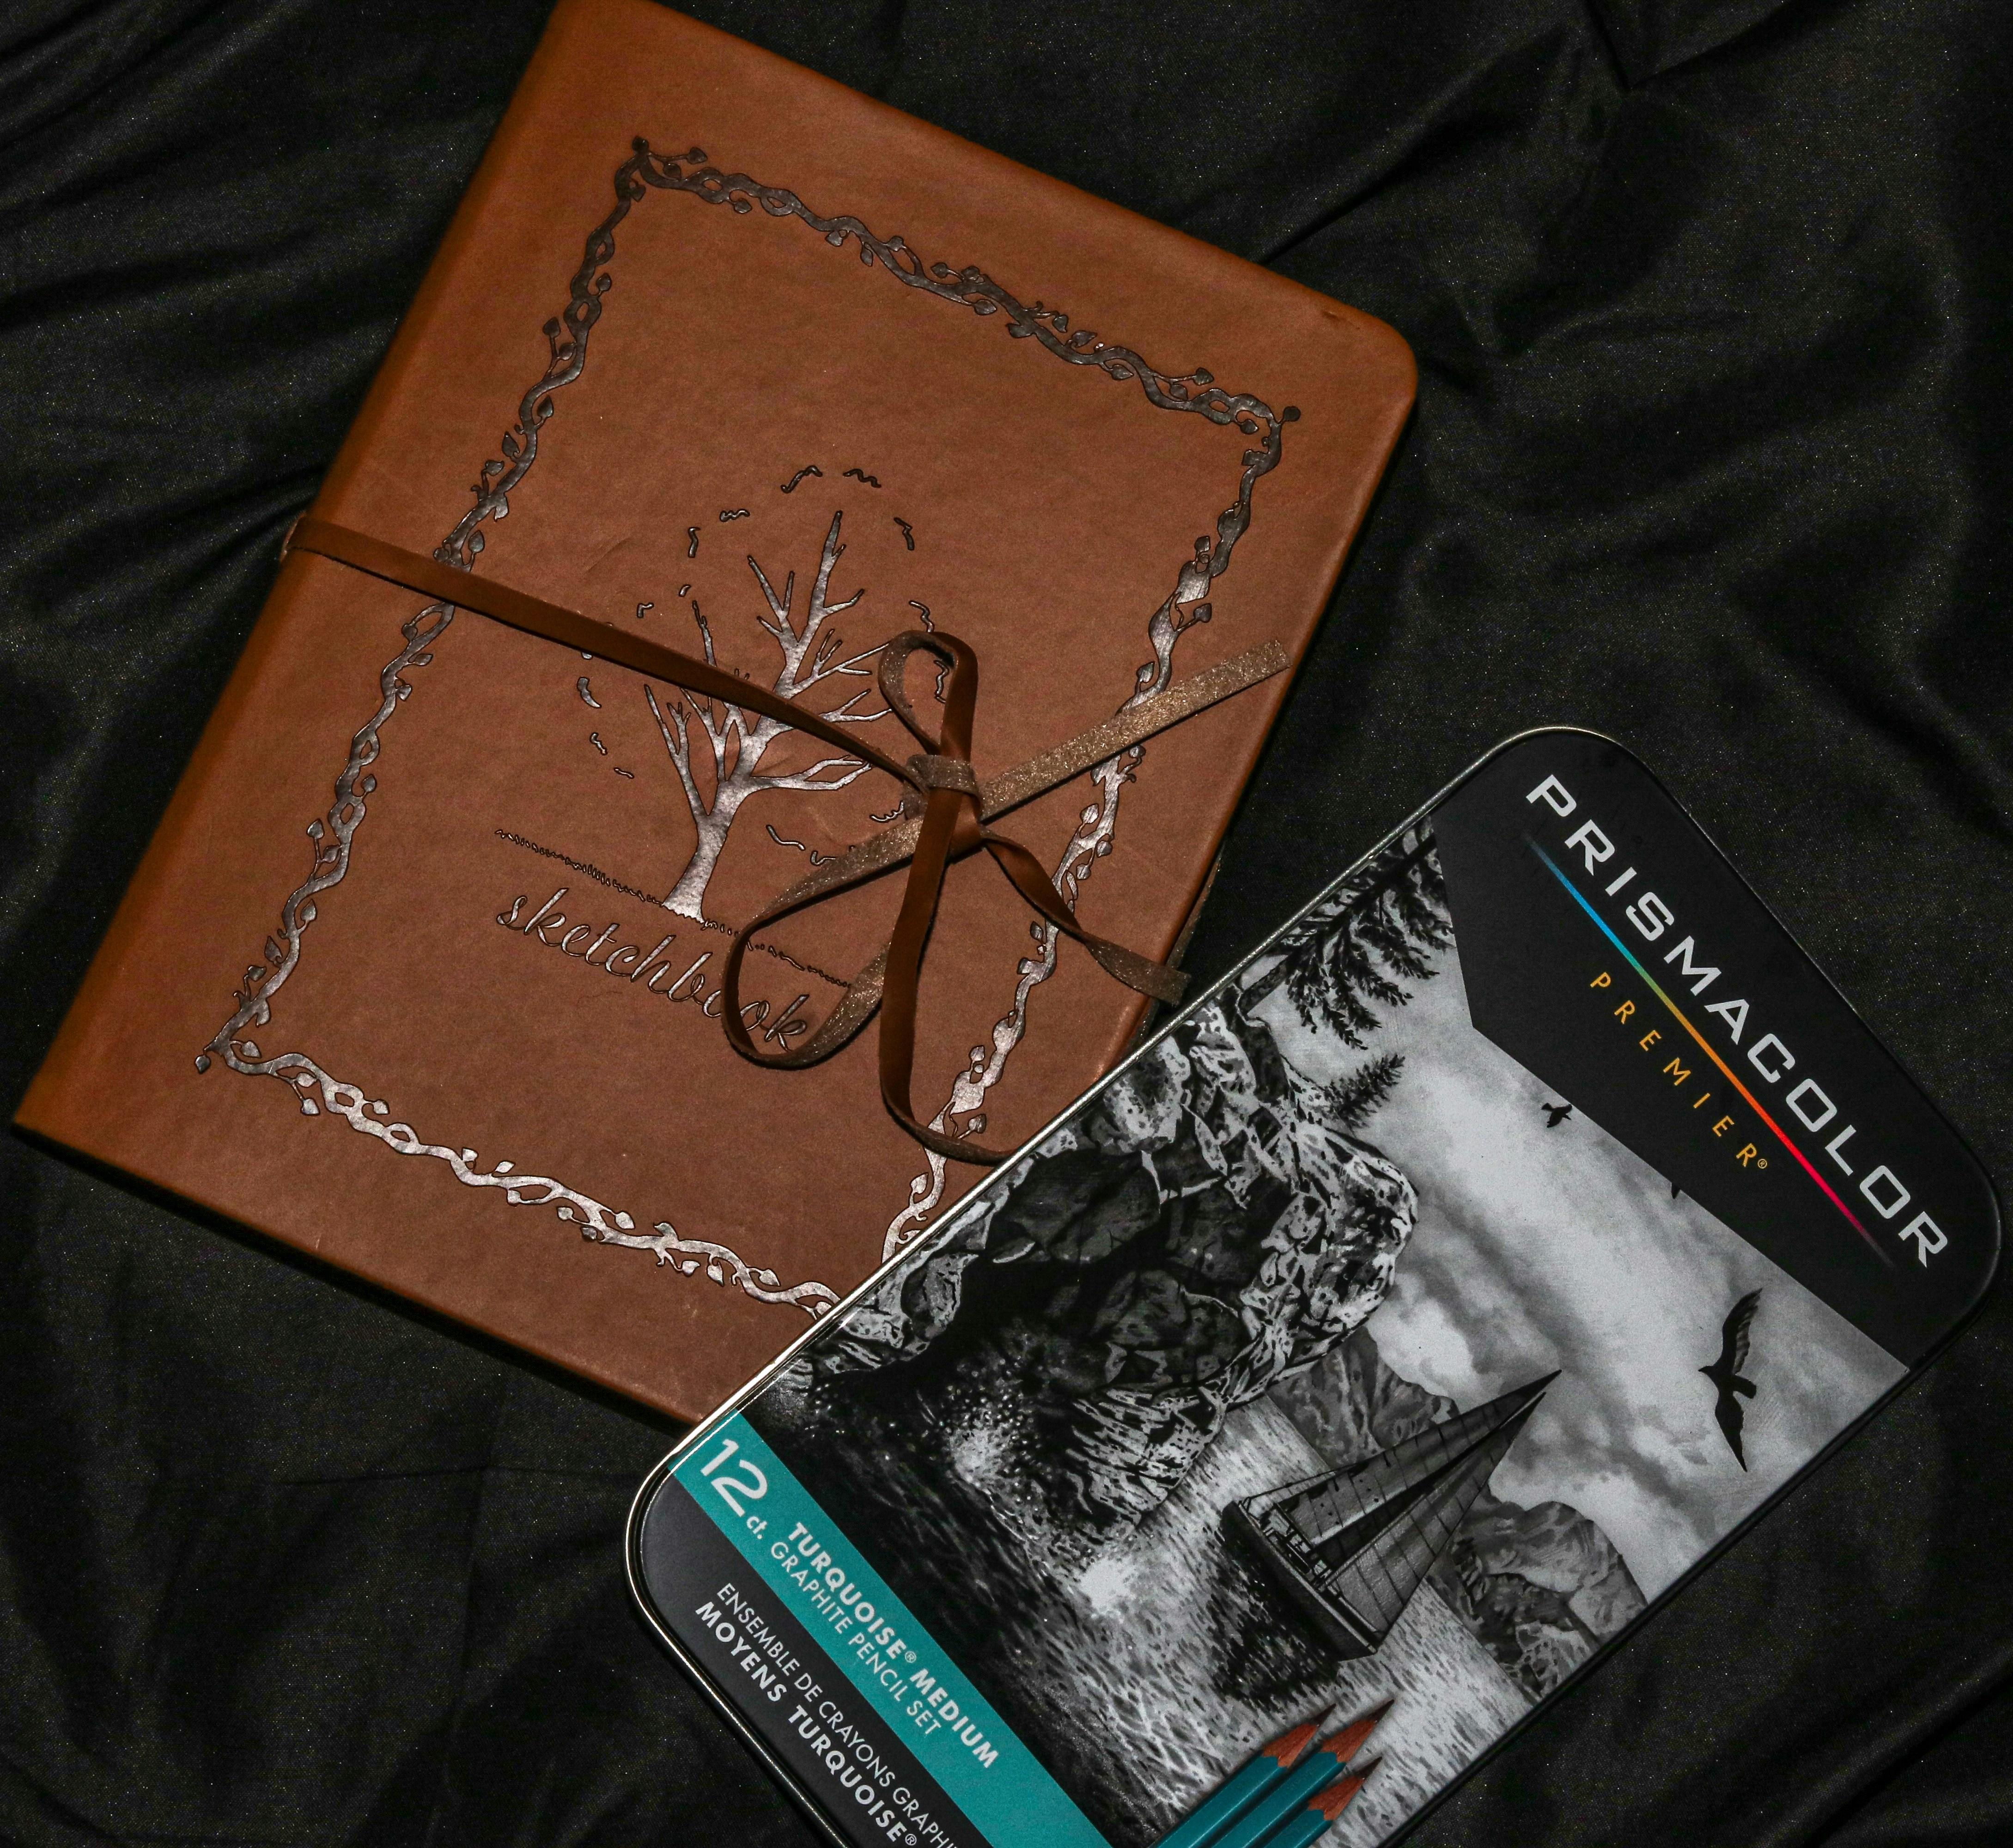
Sketchbook
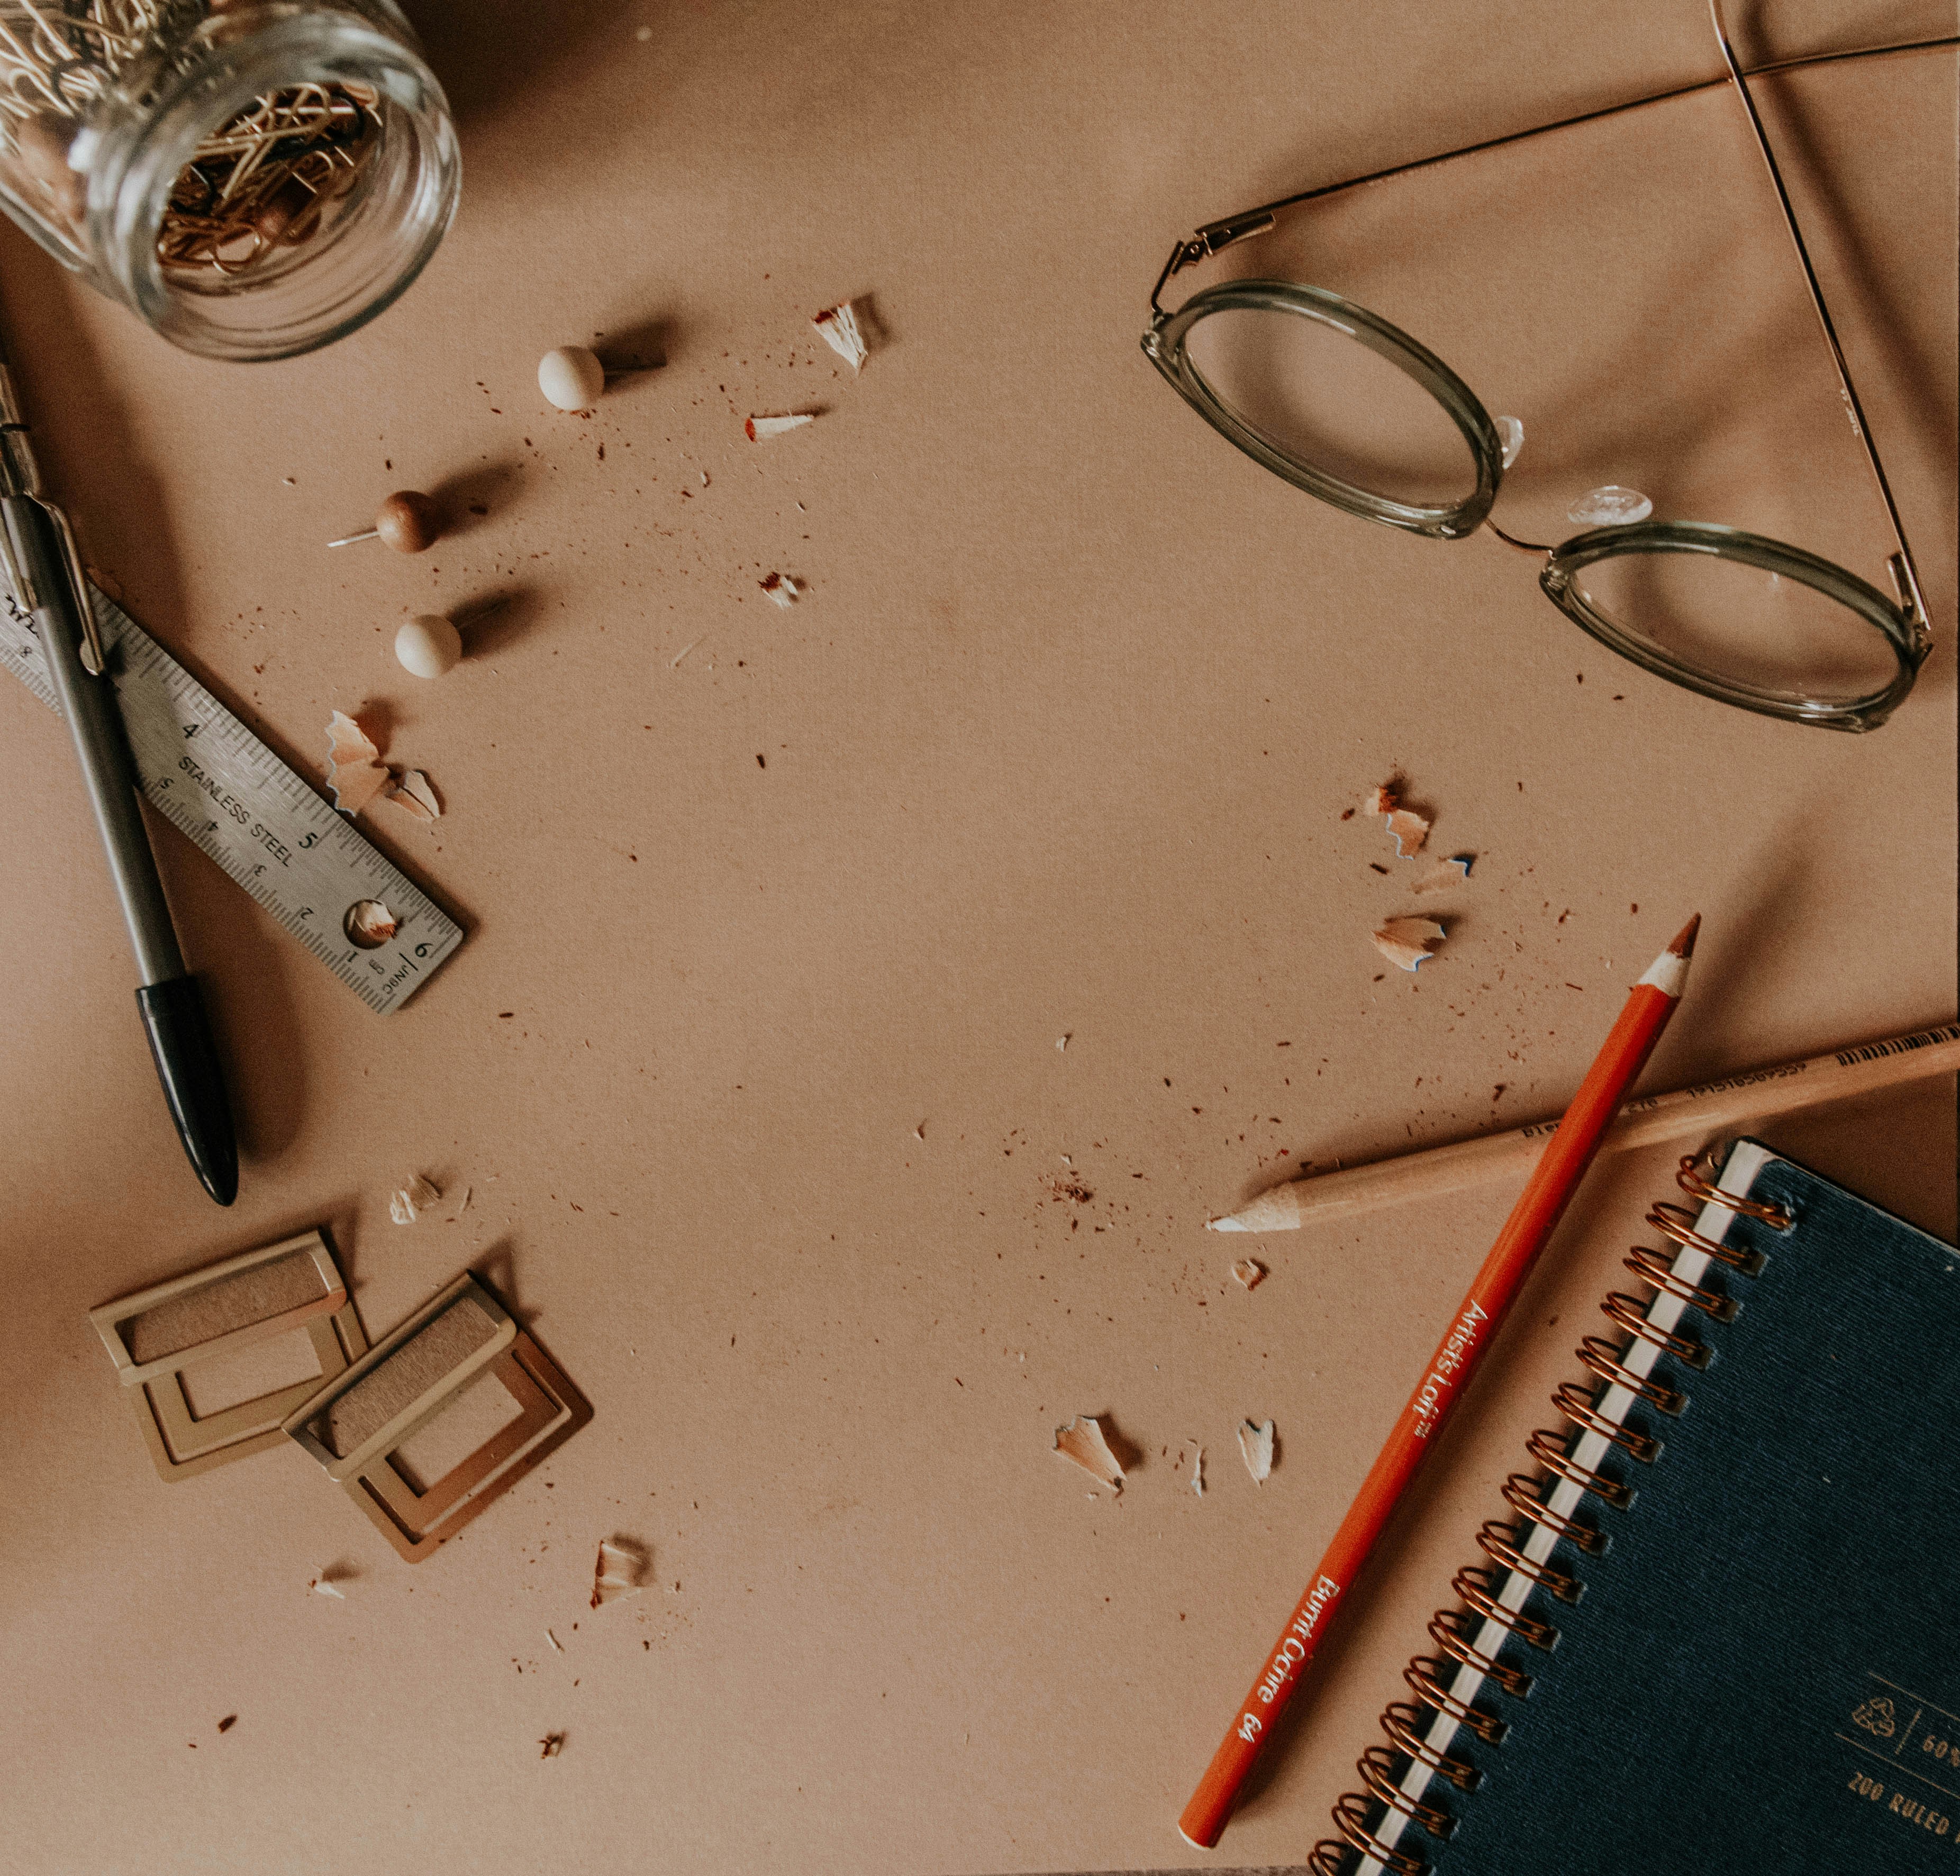
drawing flat lay

Colored Pencils - The Coloring Inn

Crayola Colored Pencils, Assorted Colors, School Supplies ...

72 Colors JOSEPH Colored Pencils Set Carton Oily Colour ...
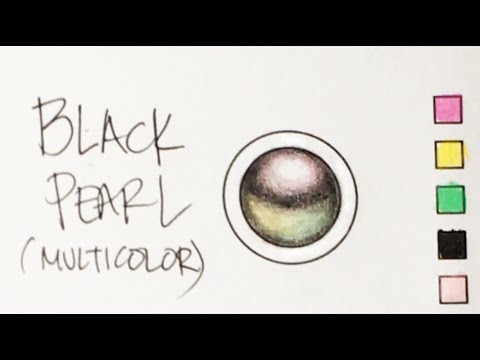
Coloring Tutorial: Black Pearl Using Prismacolor Pencils ...
Colored pencils - Pencils Photo (22186520) - Fanpop

Prismacolor Lips💜🧡 ï¸ðŸ’› | Color pencil art, Colorful ...

Pencils lined up on the floor

The Old School House - N. California
COLORED PENCIL: How to Use Water Soluble Colored Pencils ...

12 Colored Pencils | Color RI
3D Color pencils | CGTrader
Colored Pencils, 50ct Coloring Set | Crayola.com
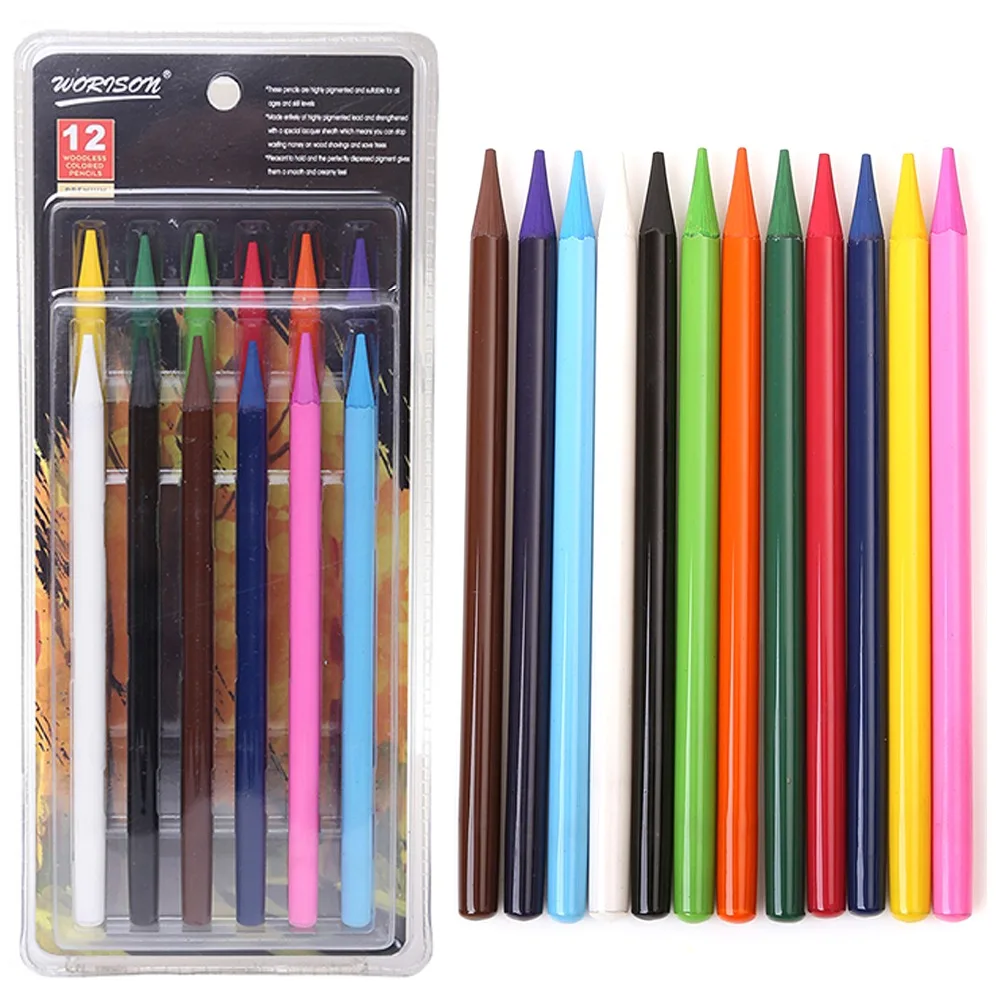
High Quality 24Colors Woodless Colored Pencils Lapis De ...
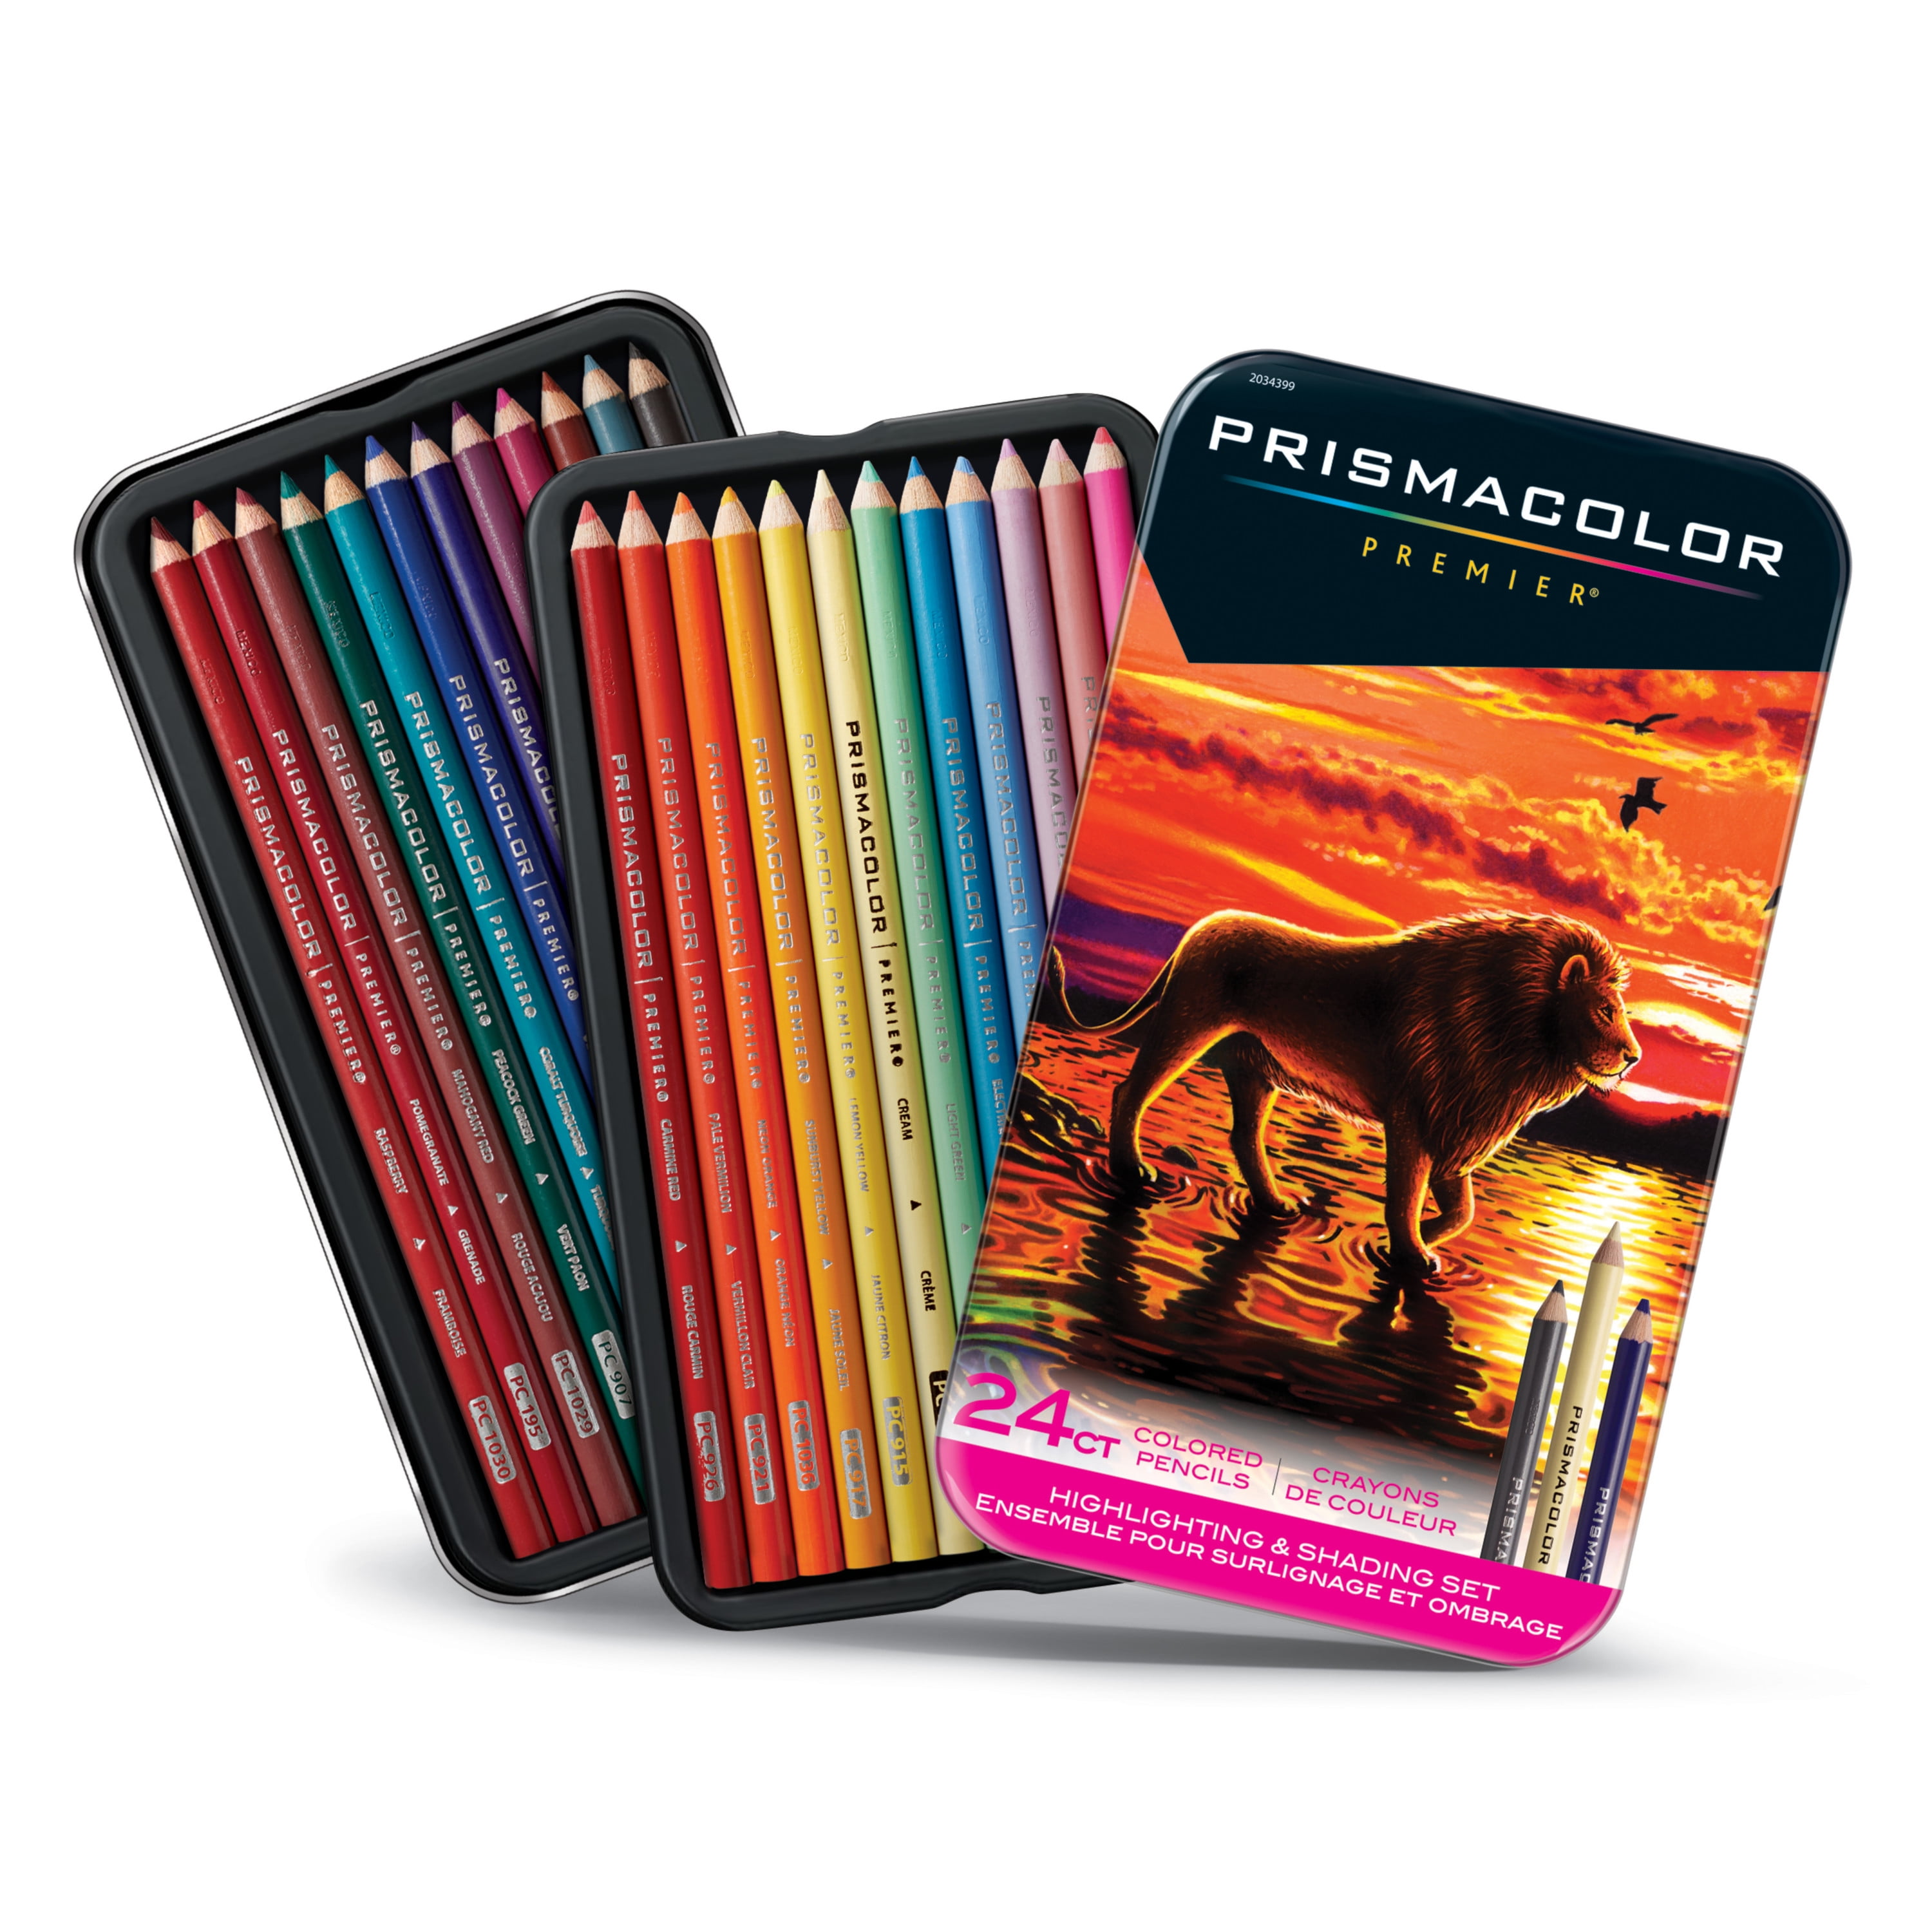
Prismacolor Premier Thick Core Colored Pencil Set, 24 ...
0 Response to "38 coloring using colored pencils"
Post a Comment